How to Compress Images Without Losing Visible Quality
Learn how to reduce JPG, PNG, and WebP file sizes while preserving the detail people actually notice.
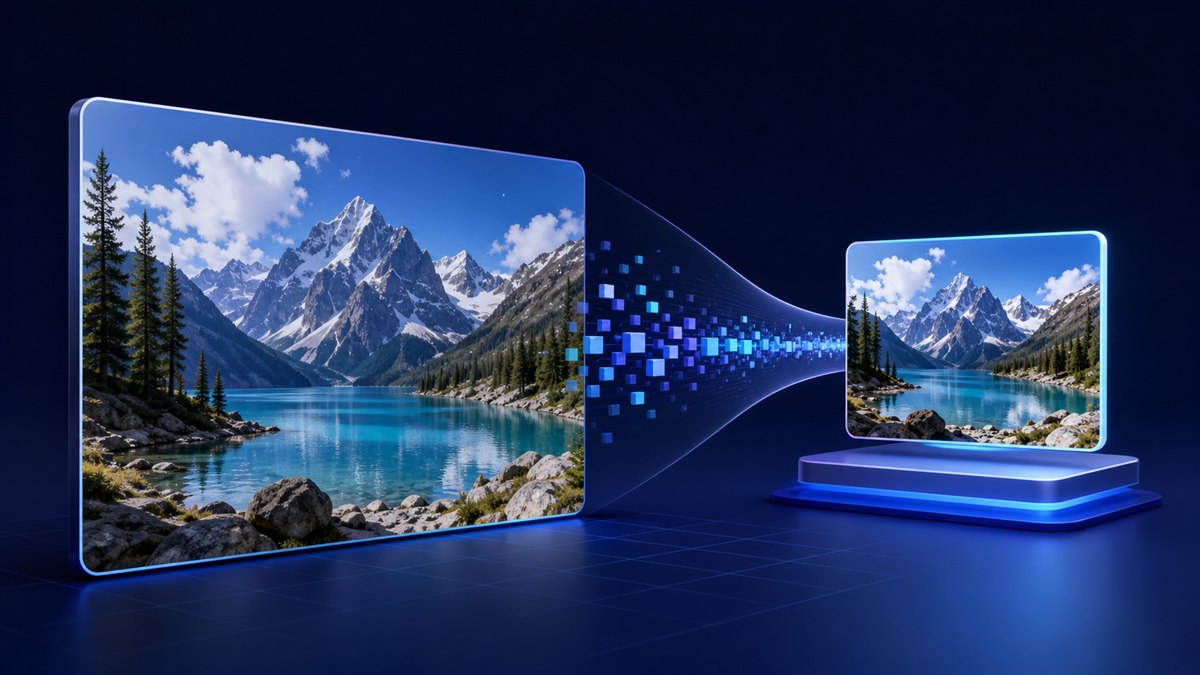
Image compression is a balance, not a magic switch. The goal is to remove data that does not materially improve the final use while keeping edges, text, faces, gradients, and important texture looking clean.
A photo for a website usually does not need the same dimensions or encoding quality as the camera original. If you choose the right format, resize first, and inspect the output at its real display size, substantial savings are often possible without an obvious visual penalty.
Start with the final use
Before touching a quality slider, decide where the image will appear. A full-width website banner, an email thumbnail, a marketplace product photo, and an archive master have different requirements. Keep the original file separately and create an optimized copy for delivery.
Measure the largest size the image will actually be shown. Exporting a 4000-pixel photo for a 900-pixel content column wastes bandwidth even if the file is efficiently encoded.
Resize before you compress
Pixel dimensions usually have the largest effect on file size. Reducing both width and height by half leaves only one quarter of the original pixels. Use the Image Resizer with aspect ratio locked so the image does not stretch.
Avoid repeatedly resizing the same compressed copy. Each lossy export can introduce new artifacts. Return to the original, choose the target dimensions once, and then make the delivery version.
Choose the right format
JPEG is a practical choice for photographs and other continuous-tone images. PNG is useful for transparency, screenshots, diagrams, and graphics that need sharp edges, but photo-like PNG files can become very large. WebP often delivers a smaller web asset while supporting both photographic content and transparency.
Format conversion is not automatically an improvement. A small flat graphic may remain better as PNG, while a detailed photograph is usually more efficient as JPEG or WebP. If compatibility matters, test the target application before standardizing the format.
Find the lowest acceptable quality
Open the Haivix Image Compressor, add the resized source, choose the output format, and begin with a moderate quality setting. Compare the preview around faces, fine text, high-contrast edges, and smooth gradients. Those areas reveal compression damage first.
Move the quality down gradually and stop when artifacts become noticeable at the intended display size. The smallest possible file is not the goal; the smallest file that still looks right is.
Use a simple quality checklist
- Check the output at 100% zoom and at its expected page size.
- Look for blockiness around sharp edges and ringing around text.
- Inspect skies, shadows, and gradients for banding.
- Confirm that transparency and background colors still behave correctly.
- Compare the original and compressed file sizes before downloading.
Common mistakes to avoid
Do not judge only from the thumbnail; compression can hide problems until the image is enlarged. Do not delete the master file after making a web copy. And do not assume that a higher quality number is always visibly better—once the difference disappears in the final context, extra bytes are not helping the viewer.
For a repeatable workflow: keep the original, resize to the actual requirement, compress a copy, inspect it, and record the settings that work for that type of content.